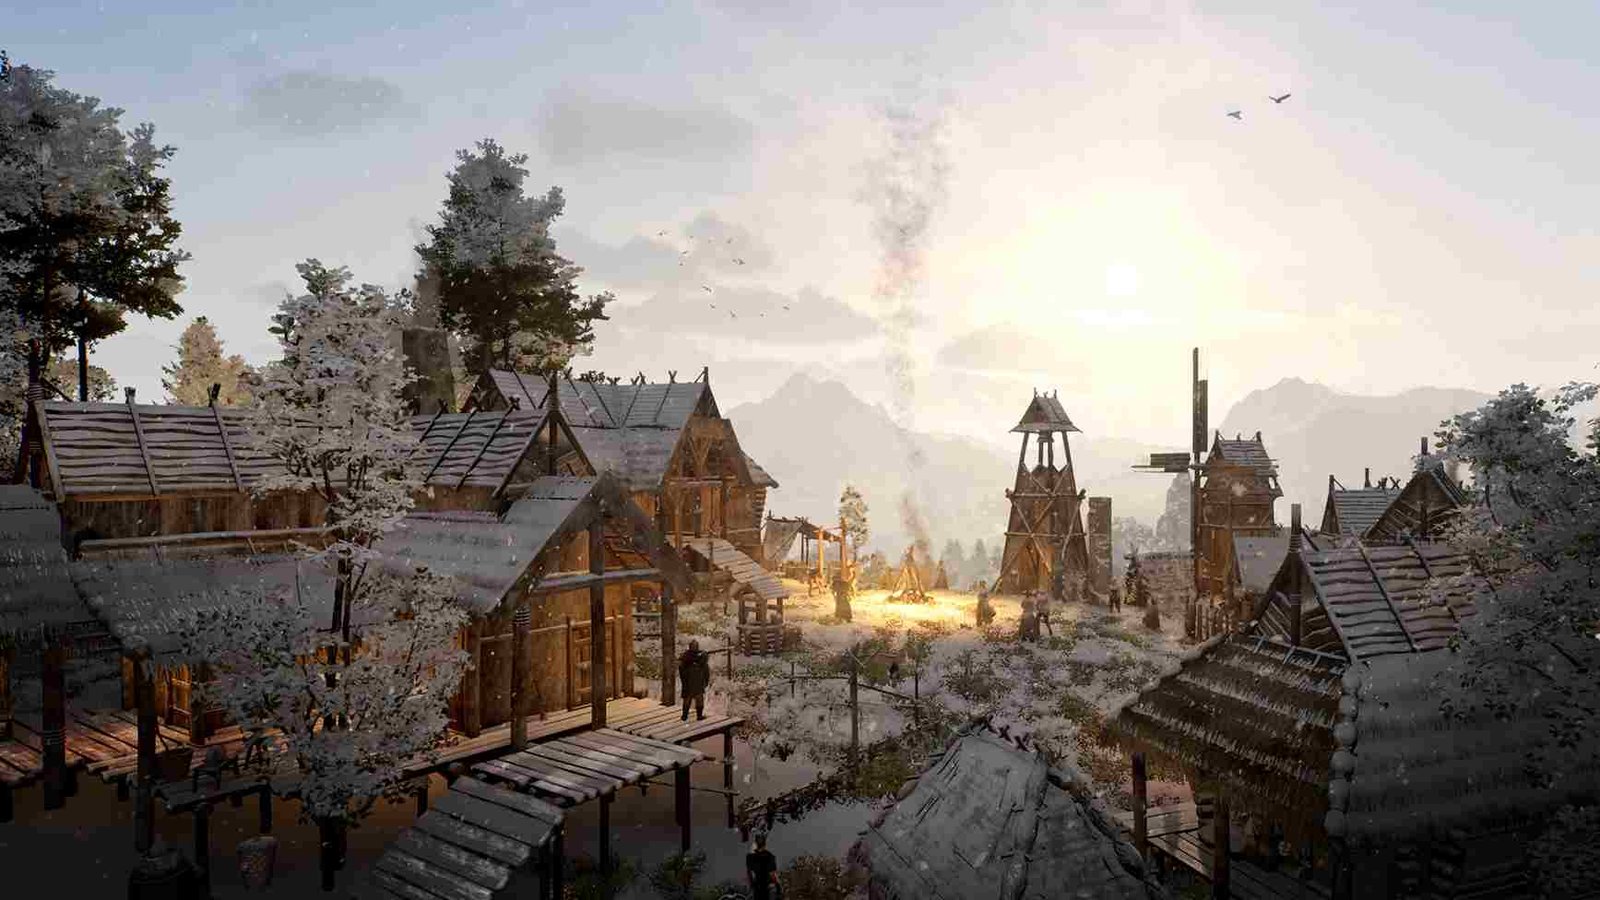
While exploring the world of Bellwright, a medieval realm teeming with adventure and rebellion, the journey hasn’t been without its technical hurdles. Well, you are not alone, as many players like yourself have found themselves facing frustrating VRAM crashing issues and errors. However, the developers at Donkey Crew swiftly responded to these challenges, addressing the concerns. So, what did they have to say? And most importantly, when will these issues be fixed? Keep reading till the end for everything you need to know about this situation.
As Bellwright is still in its early access phase, it’s normal to run into some problems, like the game crashing or encountering errors. But don’t worry too much! The developers are aware of these issues! They’ve already acknowledged the bugs, which is a good start. This shows that they’re paying attention and are ready to tackle the problems. So, while there may be some hiccups along the way, the team is on it, and things should get better as they continue working on the game. That being said, here is the gist of what the developers had to say regarding the VRAM crashing issue.
Bellwright VRAM crashing issues & errors addressed by developers
Addressing VRAM Errors with Nvidia GPUs and Intel CPUs
Players have reported VRAM errors, particularly with high-end Nvidia GPUs, linked to CPU instability issues, specifically affecting Intel CPUs of the 13th and 14th generations. The developers, along with community input, have identified the root cause of these issues and traced it to a recent report on CPU instability affecting GPU performance. Intel is aware of the problem and is actively working on a solution. The developers encouraged players experiencing these issues to contact Intel Customer Support for assistance. And while the devs did hint at a possible BIOS-related workaround, we do not recommend fiddling with the BIOS settings right away, especially if you are not an advanced user and when Intel is already working on a permanent solution.
DirectX 12 Error Resolution
Some players have encountered an error message stating, “DirectX 12 is not supported on your system” when trying to launch Bellwright. If you too have been facing a similar error, the developers have advised affected players like yourself to check the minimum system requirements listed on the Steam page. Make sure that your hardware specs meet this minimum system requirement, which includes having a GPU (NVIDIA GeForce GTX 1070 8GB or AMD Radeon RX 580 8GB) or higher.
Workarounds?
While an official fix is in the works, there are some potential workarounds that we would like to recommend. These workarounds, although not guaranteed to work for everyone, are still worth trying.
Restart Your PC
One of the simplest solutions to many technical issues, including VRAM errors and crashes, is to restart your PC. Sometimes, temporary glitches or conflicts can occur within the system, and a restart can help clear these issues. By shutting down and rebooting your PC, you give it a fresh start, potentially resolving any underlying problems that may be causing the VRAM errors.
Update GPU Drivers
Outdated or incompatible GPU drivers can often lead to various errors, including VRAM issues. Updating your GPU drivers to the latest version provided by the manufacturer can help ensure compatibility with the game and improve overall performance. To update, head over to the official website of your GPU manufacturer (Nvidia/AMD) and look for the model you use. If an update is available, download and install it. With your GPU drivers up-to-date, it is time to check if the error persists.
Increase VRAM
Although we are not sure whether increasing the VRAM of your Windows system will actually work, you can still give this a try:
- Look up for “View Advanced System Settings” in the Windows search box.
- Click “Settings” under the Advanced tab.
- In the Performance Options window, navigate to the Advanced tab once more.
- Click “Change” under the Virtual memory section.
- Uncheck the option that says “Automatically manage paging file size for all drives”.
- Now, select the drive where the game is installed (e.g., C or D).
- Set the custom size for virtual memory: the initial size should be 1.5 times your total RAM, and the maximum size should be 3 times your total RAM.
- Click “OK” to apply the changes.
After applying the changes, restart your PC and check if you run into the same error in the game.
Wait
If the issue persists even after trying all these workarounds, all you can do is wait for the developers to release an official fix for the problem.
Well, with that, you have reached the end of this guide. We hope this was informative. And, as always, don’t forget to visit DigiStatement daily for more gaming reads like this. Read more: Are Precision Rings good & worth it?


