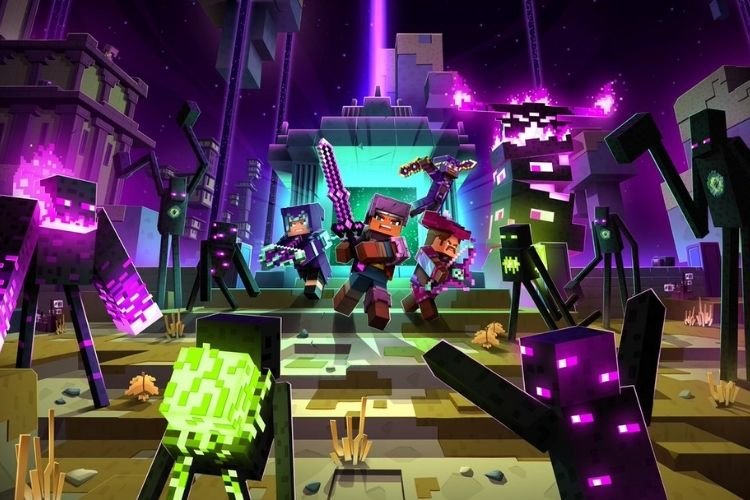
Minecraft comes first when we talk about the most played games in the world. Released in 2012, this game is currently available to play on almost every popular platform. That includes Java, Nintendo Switch, PS4, Xbox One, Microsoft Windows, Macintosh OS, iOS, Android, Apple TV, Raspberry 3i, Xbox 360, Wii U, PS3, PS Vita, Fire OS, iPad OS, tvOS, Nintendo 3Ds, New Nintendo 3Ds, and Macintosh Operating Systems. As Windows 11 has just launched, many players are trying out this game on it. In this article, we are going to discuss some ways through which you can get high FPS and enhance this game’s performance on Windows 11.

Developed by Mojang Studios, and published by Mojang Studios, Xbox Game Studios, and Sony Interactive Entertainment, Minecraft is the sandbox video game. Minecraft lets you explore the blocky virtual world where you can explore and extract raw materials, craft tools, and items, and build structures or earthworks. In Minecraft, players can also modify the game to create new gameplay mechanics, items, and assets. Coming back to the topic, here is everything you need to know about getting high FPS and enhanced performance of Minecraft in Windows 11.
Minecraft on Windows 11: High FPS and Performance
In this section, we will be discussing various ways through which you can get High FPS in Minecraft on Windows 11. Before discussing the in-game settings, you should know that these settings would best work on OptiFine, which is a performance optimizer for Minecraft. You can head here to install it easily. So, let’s get started with the in-game settings right away:
In-game Settings
- Go to options and head to Video Settings.
- Apply these settings here:
- Graphics: Fast
- Smooth Lighting: Off
- Smooth Lighting Level: Off
- GUI Scale: 3
- Brightness: Bright
- Dynamic Lights: Off
- Shaders: Antialiasing: Off
- Details: Set to default
- Animation: Turn all animations Off
- Render Distance: 8 Chunks
- Max Frames: 150 FPS
- View Bubbling: Off
- Entity Shadows: Off
- Quality: Under this, set Midmap Levels, Anisotropic Filtering, Emissive Textures, Better Grass, Custom Fonts, Connected Textures, Custom Sky, and Custom Entity Models to Off.
- Performance: Under this setting, make sure that Render Regions is turned off and the Fast Render is turned On.
After applying these settings, keep Minecraft running in the background and open the Task Manager

Task Manager Settings
- Under the Processes tab, right-click on “OpenJDK platform Binary” and select Details.
- Here, select the Javaw.exe, right-click on it, and set the priority to high.
- You can also end some unnecessary programs that might be running in the background.
Moreover, if you are using the NVIDIA graphics card, then you can apply these settings also.
NVIDIA Control Panel Settings
Before updating any settings, make sure that your graphics driver is up to date.
- Open NVIDIA Control Panel
- Head to the Program Settings tab under Manage 3D Settings.
- Here, select Minecraft Launcher to customize some of its settings and click on “Add”
- Now, apply the following settings in the list below:
- CUDA – GPUs: Select your dedicated GPU here.
- Power Management Mode: Prefer maximum performance
- Texture Filtering Quality: Performance
Windows Settings
- Open the System Settings window and select Gaming.
- Here, Disable Xbox Game Bar and Game Mode.
Last but not the least, delete all the temporary files from your computer. You can find them by running %temp%, temp, and prefetch in Run Window.
So, this was all about getting the High FPS and Enhanced Performance of Minecraft on Windows 11.


