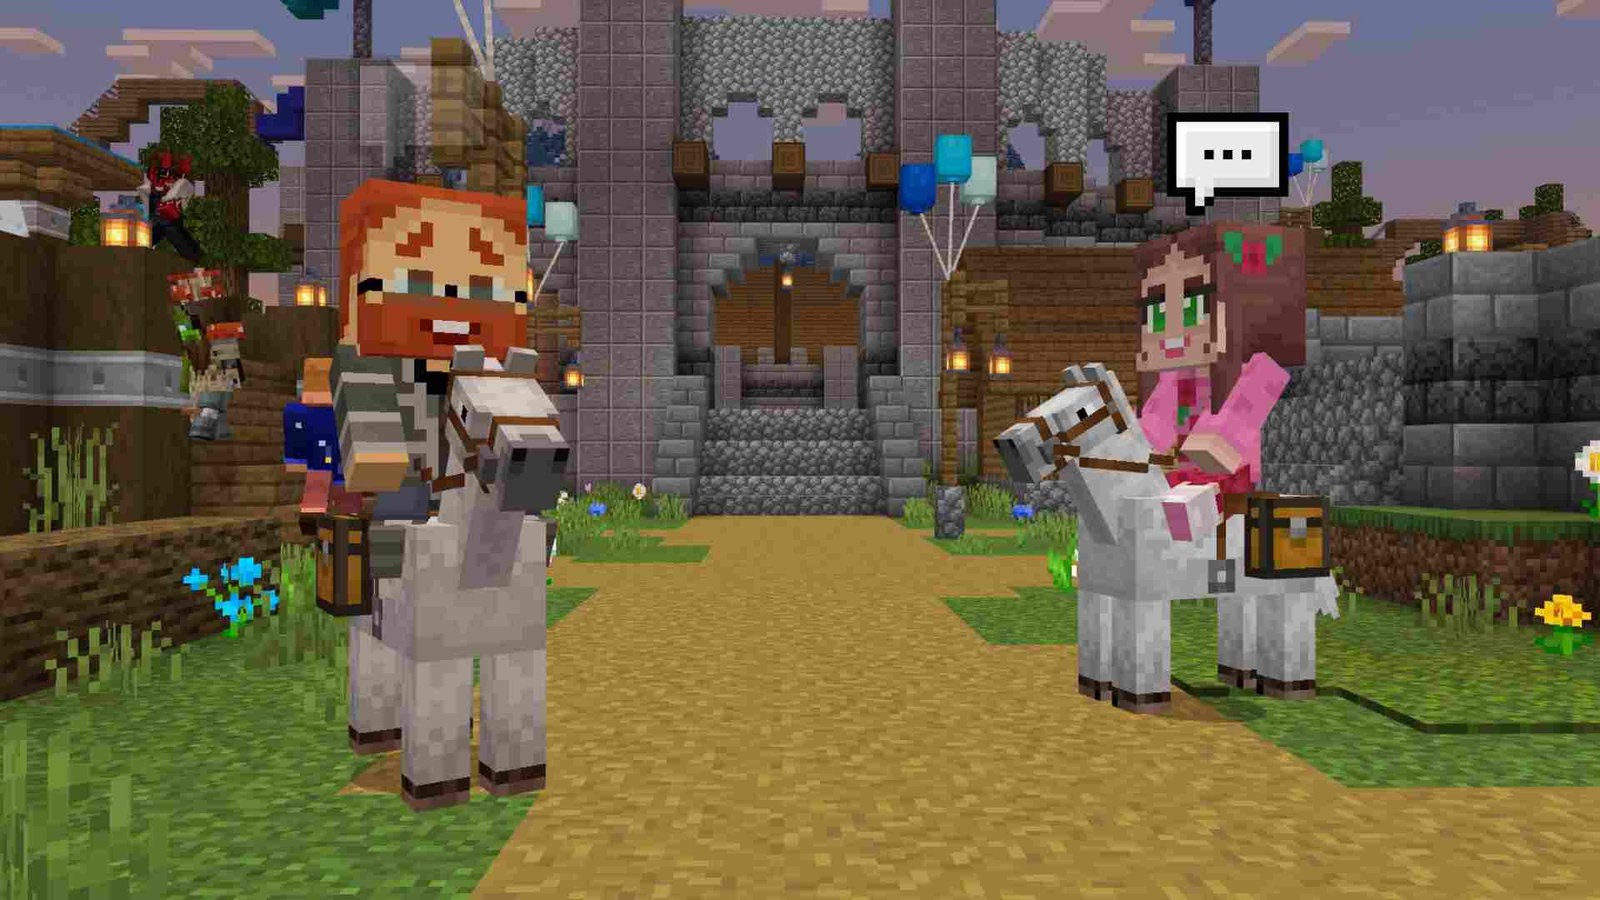
It’s never a bad time to be a Minecraft fan. And this too certainly isn’t so. The video gaming world’s #1 and best-selling game just received its Trails & Tales update on June 7th, 2023. All this wouldn’t be possible without the amazing work done by Mojang Studios. Available for both Java and Bedrock versions of the game, this 1.20 update comes with lots of changes and improvements. For starters, Camels are finally here in Minecraft, along with cherry trees. A new biome is also included with this update, as is a new Archealogy feature. Now, as new updates are released in a game, the introduction of new issues is imminent. And the same has happened with this Minecraft 1.20 update too. Players on macOS have reported that the game fails to work properly on the latest 1.20 version.
When it comes to gaming, people’s minds usually go toward either consoles or Windows PCs. Gaming on macOS isn’t “mainstream”, at least not as of now. If you just look at how many more titles are available on Windows than on Mac, you will realize just how wide of a gap that is. But still, it’s been improving recently as more developers look to port their games to macOS. Support for macOS was launched alongside Linux and Windows with Minecraft’s full release in 2011. And with Minecraft 1.20 finally released, this particular issue isn’t looking that great. So, is there a fix? Let’s find out!
 Minecraft 1.20 not working on Mac: How to fix it?
Minecraft 1.20 not working on Mac: How to fix it?
Restart your system –
One of the best and most simple methods, before you try other workarounds, is to do a quick restart of the system. Although it’s not 100% guaranteed to fix the issue, it’s still worth a try.
Update OS –
Like Windows, macOS also receives constant updates. If you haven’t updated your OS in a long time, please go ahead and do so. Select the Apple menu > System Settings. Next, click on General on the left side of the System Settings window, and then select Software Update on the right.
Create a new installation –
If updating the OS and restarting your Mac didn’t work, then it’s time for a new installation. Open the Minecraft Launcher and select the Installation tab. There, click on the “Create new installation” button. Name it as you like, set the version to 1.20, set the resolution to auto, and click on Create. Now, try running the game.
Allocate more RAM –
Allocating more RAM to the game might fix this problem entirely. To do so, open the Minecraft launcher and head to the Installation tab. In the latest created installation, click on More options, and select the JVM Arguments option. Under it, change the “Xmx2G” value to a higher RAM value available on your device. For example, to allocate 4 GB RAM, type “Xmx4G”; while for 8 GB RAM, enter “Xmx8G” and so on. Save the changes, and then launch the game.
Note: Make sure to check the available RAM of your device before tweaking this setting.
Reinstall Minecraft Launcher –
Well, you can also try reinstalling the Minecraft Launcher if none of the aforementioned methods work for you. A fresh installation might be all you need to get rid of this issue in the game.
Anyway, now you know what you need to do if the latest Minecraft 1.20 update fails to work on your Mac device. For more guides like this, don’t forget to bookmark DigiStatement.
Also, read: Minecraft Legends Piglin Keys: How to Get & Find Them


